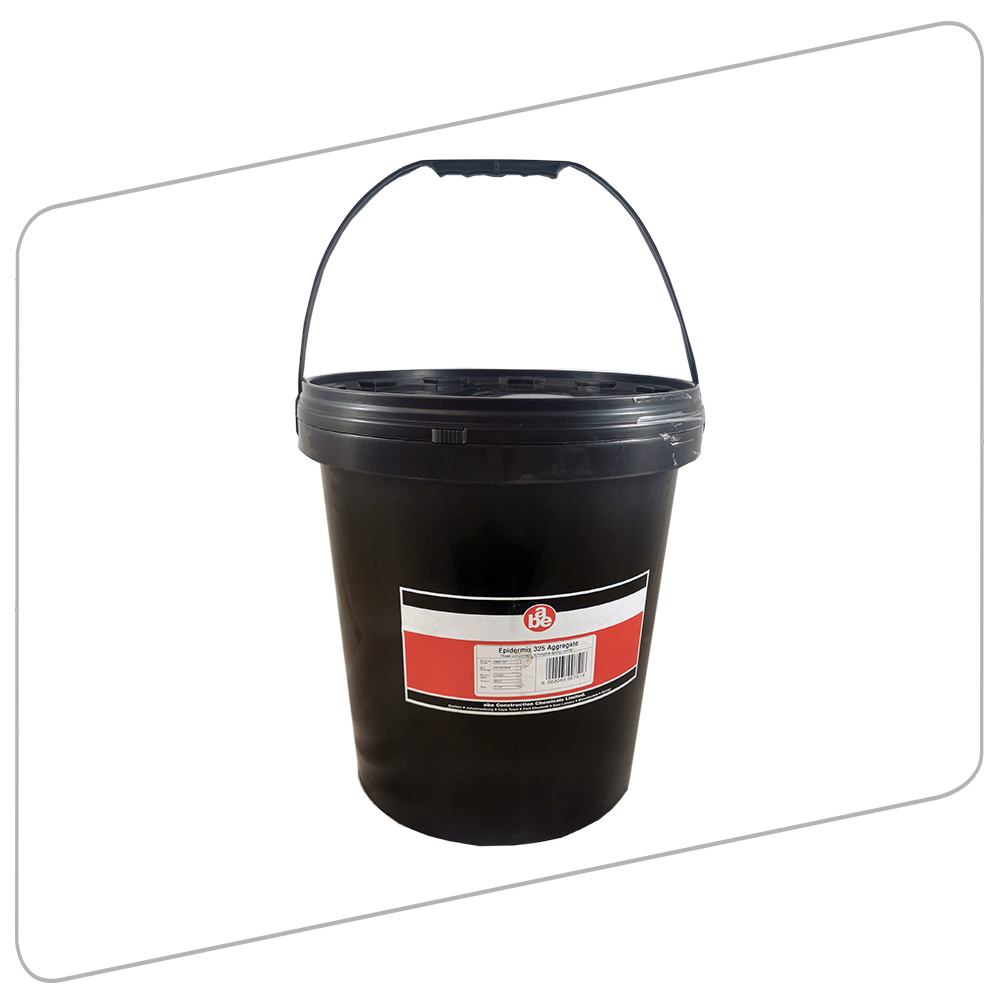
Three-component rammable epoxy mortar

Three component, solvent-free, amine-cured, silica-filled epoxy mortar.
Uses:
- Repair medium for damaged concrete (spalled or honey-combed)
- High compressive strength repair behind stressing heads
- Bedding medium for bridge and similar bearings
- Grouting medium between structural units, machine bases and parent structure where the gap is large enough just to be rammed full
- Levelling screed (high early strength)
- NOT FOR USE IN DIRECT SUNLIGHT
Advantages
- Rammable
- Withstands impact and lateral vibration
- Strengths far in excess of concrete
Surface Preparation
All surfaces against which epidermix® 325 will come into contact must be clean, sound and dry. Concrete must be free of laitance, dust, fractured aggregate, oil, grease and foreign matter. For maximum adhesion, surface should be scabbled to expose main aggregate. Steel must be free of oil, grease, oil paint, other foreign matter, millscale and rust. For maximum adhesion, surface should be abrasive blast cleaned.
Dryness of concrete should be proved by the ‘plastic sheet’ test. There should be no condensate on the underside of a sheet fixed in contact overnight, nor should the concrete show a color change. See ‘Preparation of Surfaces’ specification sheet for details of test.
Properties During Application
| Application by | Trowel or ramming tool |
| Pot life 7 l kit of mortar |
15 ºC – 120 mins 20 ºC – 90 mins 25 ºC – 60 mins 30 ºC – 45 mins 35ºC – 30 mins |
| Volume solids | 100% |
| Curing time @ 25 ºC |
Touch dry – 8 hrs Practical cure – 24 hrs Full cure – 7 days |
| Application temperature range | 10 ºC to 40 ºC |
| Application rate | At 5mm thickness, 1 L x 7 L kit covers 1,40 m2 – with no wastage allowance |
| Maximum volume to be used per single placing | Large volumes exhibit high development of heat during cure. As this is largely dependent on ambient conditions as well as the area and heat absorption properties of surfaces involved, consult a.b.e.®’s Technical Department for advice. |
Bonding / Priming
Where maximum adhesion is required, surfaces should be primed with epidermix® 116, 365 or 389. Mortar should be placed while primer film is still wet.
Mixing
Premix the silica aggregate to obtain even distribution of the various gradings. Add the entire contents of the activator tin to the base component and, without splashing, stir with a flat paddle until an even streak-free mixture results. This takes at least five minutes. Once liquid components have been thoroughly mixed, the aggregate may be added.
When using a mechanical mixer, place mixed liquid in the pan and slowly add premixed aggregate, mixing until an evenly coated, wetted mortar results.
Use this method also if manual mixing is carried out in a drum. If manually mixing on a board, make a heap of the mixed aggregate, form a saucer in the centre of the heap, add the mixed liquid to the saucer. Fold the aggregate into the liquid taking care that no binder is lost. Mix as in mixing ‘cement dagha’. All lumps must be broken down and an evenly wetted mortar obtained.
Properties of Cured Material
| Maximum service temperature | Dry – 90 ºC Wet – 70 ºC |
| Compressive strength 7 days @ 25 ºC | 110 MPa |
| Compressive strength 1 days @ 25 ºC | 60 MPa |
| Tensile strength 7 days @ 25 ºC | 9 MPa |
| Modulus of rupture 7 days @ 25 ºC | 30 MPa |
| Modified Arizona Shear test | High shear strength test using prisms 5mm thick film failed to concrete |
| Shrinkage during cure | Negligible |
| Water resistance | Excellent |
| Toxicity | Do not use in contact with potable water or food |
| Chemical resistance | Resists – oils, greases, petroleum fuels, solvents, caustic soda and hydrochloric acid |
| Colour | Brown finish |
Coverage
Depends upon dimensions of cavity to be filled.
Application
Repair of concrete:
Provide a shutter to retain epoxy mortar until it has set. Shutter release may be obtained through the use of conventional mould oils but a better finish will be obtained by facing the shutter with plastic sheeting. Remove all
wrinkles in the plastic to prevent transfer into the epoxy face. Because of heat development during cure, the volume of epidermix® 325 that can be placed in one lift depends on several factors:
- the ambient conditions prevailing in the immediate vicinity of the repair;
- the heat absorbing properties of the shuttering and the substrate;
- the cross sectional area of the repair;
- the area of surface contact;
- the ease of access for placing the mortar.
As a rough guide, a single placing should not involve more than about 4×7 liter kits of epidermix® 325 (i.e. about 30 L mortar), seek the help of a.b.e.®’s Technical Department prior to application to prevent problems arising from the exothermic reaction.
Prime the area to be repaired using epidermix® 116. Lay the mortar into the still wet primer. If more than one lift of mortar is required, scratch the surface to roughen it to obtain a key for the next lift. This may follow as soon as exotherm heat has dissipated. Only prime areas against which mortar can be immediately laid. If primer cures before mortar is placed, area must be reprimed.
Shuttering may be stripped after the last lift has set. If appearance is important, rub down any nibs immediately, using a carborundum stone. Loading of such a repair is normally permissible about 24 hours after the final placing, provided average ambient temperature exceeds 20°C.
Bedding bridge and other bearings:
Prepare a suitable box mould, capable of being sectionally dismantled, to provide the exact cross section and depth required. Mould must be provided with a shutter release system.
Follow the details given above regarding the volume of mortar being placed. When the mould is full, strike off the surface using the mould as a rail for the straight edge. Smooth and polish the surface with a steel float lubricated with a thin film of white spirits. If a bonded bearing is required, prime the clean contact face of the bearing with epidermix® 116. Embed steel spacers when packing the mortar, so that they may support the bearing while the mortar sets. If an unbonded bearing is required, allow the mortar to set. Place the bearings on the true face.
Grouting between units and other bases:
epidermix® 325 provides a gap-filling, high strength grout, which should be done from one face only and all other sides must be shuttered firmly enough to withstand ramming pressure. Shutters must be treated to provide complete release.
The ramming tool should be slightly narrower than the thickness of the gap and about 100 mm wide at the ramming face. It should taper gently outward to the handle so that there is no tendency to pull grout out. The tool should be long enough to reach the back of the gap.
Starting from one end of the gap, pack in small quantities of mortar. Ram firmly against the back shutter. Proceed until the gap is completely filled and is free of air voids. Fit a front shutter to retain grout during setting.
Screeding
Prime the area to be screeded using epidermix® 116. Lay the mortar into the still wet primer.
Application is by trowel (preferably with a 338 steel blade). Screed strips of the required thickness, either of steel or hard board, will also be required. A small area should be laid at a time, floated to a smooth finish and then not touched again. The screed strips should be set 600 mm apart, parallel to each other. A strip of epidermix® 325 mortar about 200 mm wide and 1 m long is then laid against one strip and worked level with the trowel, pushing against the strip. The process is repeated against the other strip. The gap in the centre (±200 mm) is then filled with mortar, working in a direction parallel to the strips and with the outer edges of the blade riding on the mortar already in position. Do not use straight edge as with cement. The trowel should be wiped periodically with a cloth wetted with a little pine oil or paraffin to prevent sticking. Once the first strip is laid, the next strip can be laid against it using it as a screed strip. This method of continuous laying is preferable to ‘chequerboard’ laying. To improve the appearance of the floor, a false grooved joint may be used. The false joint will be so apparent that the faint line of the actual joint will be unnoticed. The false joint should be ±1 mm deep.
Cleaning
abe® super brush cleaner before dried/cured.
Protection on Completion
Against traffic and spillage until cured. Most epoxies chalk and degrade in extensive sunlight.
Temperature & Relative Humidity
See “Properties of cured material” and “Properties during application”.
Model Specification
Three component, high strength dry-pack epoxy mortar for machine bases etc.
The grout shall be epidermix® 325, a three component, solvent free, amine cured, epoxy comprising a resin hardener system and pre-packed aggregates applied in accordance with the manufacturers recommendations, a.b.e.® including epidermix® 116 primer where necessary. The mortar shall have a compressive strength of 110 MPa in seven days and be resistant to aliphatic solvents, oils, petrol, diesel fuel and chemical attack.
Packaging
epidermix® 325 is supplied in 7 liter kits.
Handling & Storage
This product has a shelf life of 24 months if kept in a dry cool place in the original packaging. In more extreme conditions this period might be shortened.
Health & Safety
Important Note
This data sheet is issued as a guide to the use of the product(s) concerned. Whilst a.b.e.® endeavours to ensure that any advice, recommendation, specification or information is accurate and correct, the company cannot accept any liability for application – because a.b.e.® has no direct or continuous control over where and how a.b.e.® products are applied.
Further Information
Where other products are to be used in conjunction with this material, the relevant technical data sheets should be consulted to determine total
requirements.
a.b.e.® has a wealth of technical and practical experience built up over the years in the company’s pursuit of excellence in building and construction
technology.
